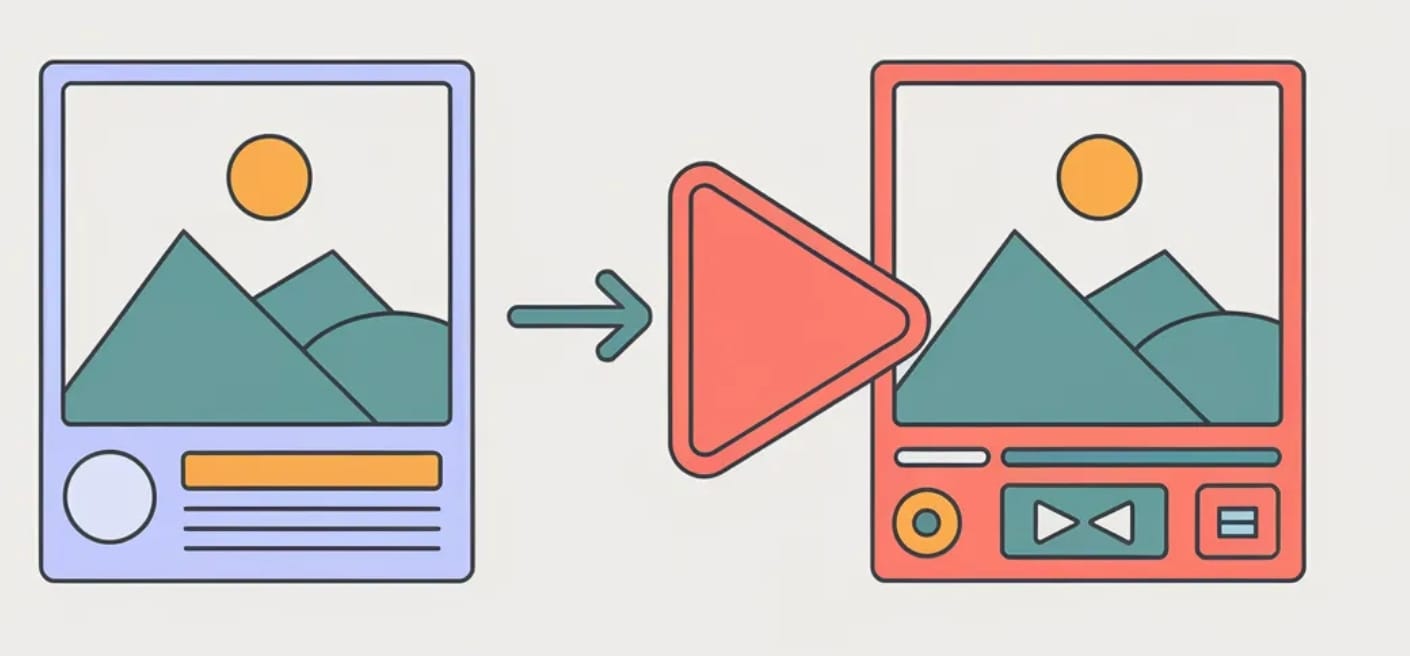
How to Convert an Image to Video Online for Free in 2026
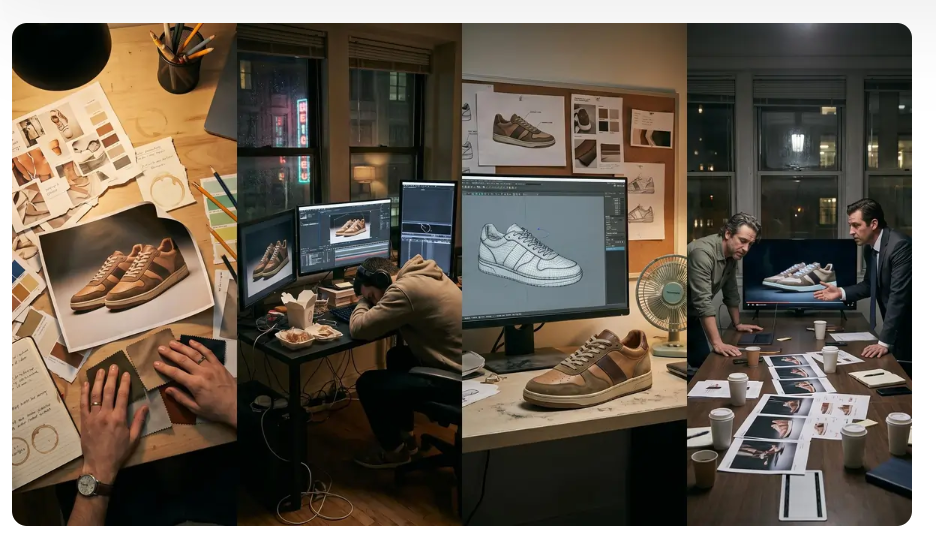
Why do some AI-generated videos look smooth and natural while others appear stiff or unrealistic? The difference usually isn't the AI model alone—it also depends on the quality of the source image and how clearly the motion is described. When an AI model tries to animate too many actions at once or receives vague instructions, it often produces distorted faces, unstable backgrounds, or unnatural movement. This guide explains why these issues happen and shows you how to convert an image into a video using simple prompts that produce smoother, more consistent results.
How to Convert an Image to Video Online
To make a smooth video from an image relies on prompts. The following steps show how to complete this process while reducing stiff movement, distorted details, and unstable backgrounds.
Step 1: Upload Your Image
Open an AI video generator and select the image you want to animate. Visuals that you are permitted to use can be used, including portrait, product photo, landscape, illustration, educational graphic.For better results, choose an image with
- A clearly recognizable main subject
- Balanced lighting
- Good resolution
- A clean composition
- Enough space around the subject
- Clearly visible facial or product details
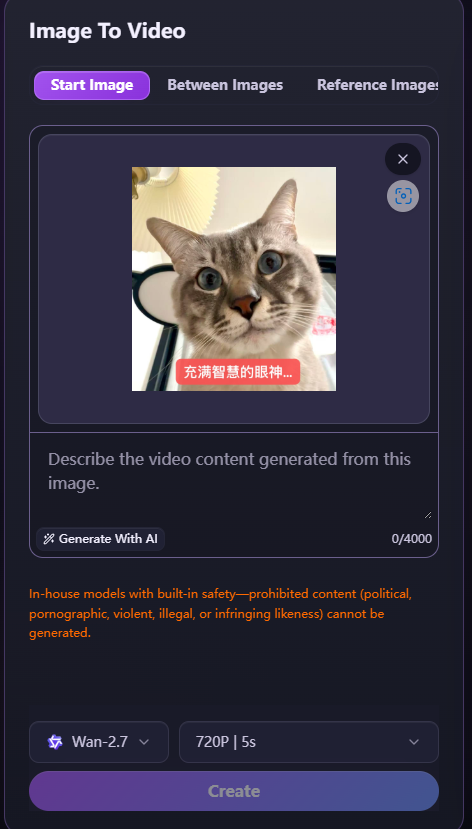
For this walkthrough, we’ll use VidpexAI, which accepts JPEG, JPG, PNG, and WebP images. After uploading a suitable image, the quality of the final animation largely depends on how clearly you describe the movement you want.
Step 2: Enter a Clear Motion Prompt
After uploading your image, describe how you want the scene to move. A useful prompt should include the main action, movement speed, camera direction, and any details that must remain unchanged. Keep the instruction simple. One main action and one camera movement usually produce a more natural result than several actions combined. When you choose prompts, you should avoid vague prompts such as make this image move. Clearly stating what should move—and what should stay still—gives the AI better control over the final video. Here are more detailed prompt examples for different users:
Portrait Photo Animation
Use case: Turn a portrait into a natural social media video.
Prompt:
Make the person blink naturally once, slightly smile, and gently move their head toward the camera. Add a slow camera push-in effect. Keep the person's identity, facial features, hairstyle, clothing, and background unchanged. Use realistic facial movement and avoid exaggerated expressions or body distortion.
Why it works:
Small movements such as blinking, smiling, and subtle camera motion are easier for AI models to maintain consistently than large body movements.
Example of Portrait Photo Animation
Product Photo Animation
Use case: Create a product showcase video from a static image.
Prompt:
Keep the product centered and unchanged. Slowly zoom the camera toward the product over five seconds. Add a soft lighting effect moving across the surface and create subtle background movement. Preserve the product shape, logo, text, colors, and packaging details. Do not redesign or change any product elements.
Why it works:
For products with logos, labels, or text, keeping the object stable and adding camera movement usually produces more reliable results.
Example of Product Photo Animation
Landscape Photo Animation
Use case: Add natural motion to scenery.
Prompt:
Animate this landscape with slow natural movement. Add gentle cloud movement, flowing water, and slight motion in trees or grass. Keep the original composition, colors, lighting, and landscape details unchanged. Use smooth cinematic motion and avoid adding new objects.
Why it works:
Natural elements such as clouds, water, and leaves can move without changing the identity of the original image.
Example of Landscape Photo Animation
Illustration or Artwork Animation
Use case: Bring drawings, posters, or educational graphics to life.
Prompt:
Animate this illustration with subtle movement. Add gentle motion to the main elements while keeping all text, labels, colors, and original artwork unchanged. Preserve the original style and composition. Avoid creating new objects or changing the design.
Why it works:
AI models may accidentally modify text or graphic details, so clearly stating what should remain fixed improves consistency.
Example of Illustration or Artwork Animation
Old Photo Restoration Animation
Use case: Create a moving memory from an old photo.
Prompt:
Bring this old photo to life with subtle realistic movement. Add natural blinking, a small smile, and slight camera movement. Preserve the person's identity, facial details, clothing, and original photo style. Keep the motion gentle and avoid changing the historical details of the image.
Why it works:
Small emotional movements create a realistic effect while reducing the chance of face distortion.
Step 3: Generate and Preview the Video
After confirming your image, prompt and configuration settings, hit Generate. Once rendering completes, play the whole video and check for consistency in the subject, motion, camera angle and background. Short, purposeful prompts tend to create more stable footage compared to lengthy, conflicting directions. If the first result is unsatisfactory, modify only one setting each time. Testing adjustments separately lets you clearly determine what delivers better outcomes.
If the video has some problems, please try to adjust them:
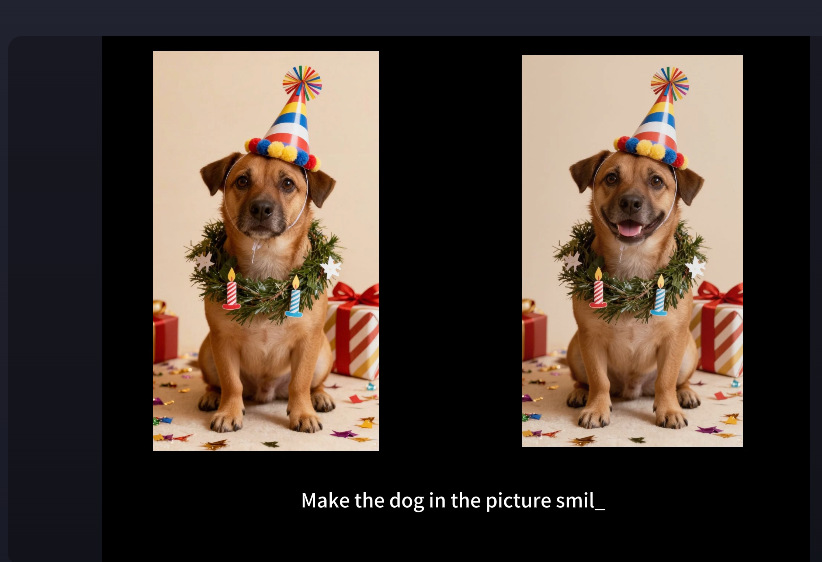
Example:
First prompt:
Make the woman dance happily.
Result:
Example of First prompt
Revised prompt:
Let the woman blink naturally and smile slightly while keeping her head still. Slowly zoom the camera toward her.
Result:
Example of Revised prompt
If the generated video has problems, simplify the prompt, reduce unnecessary movement, clearly specify what should remain unchanged, and adjust the camera direction or aspect ratio as needed.
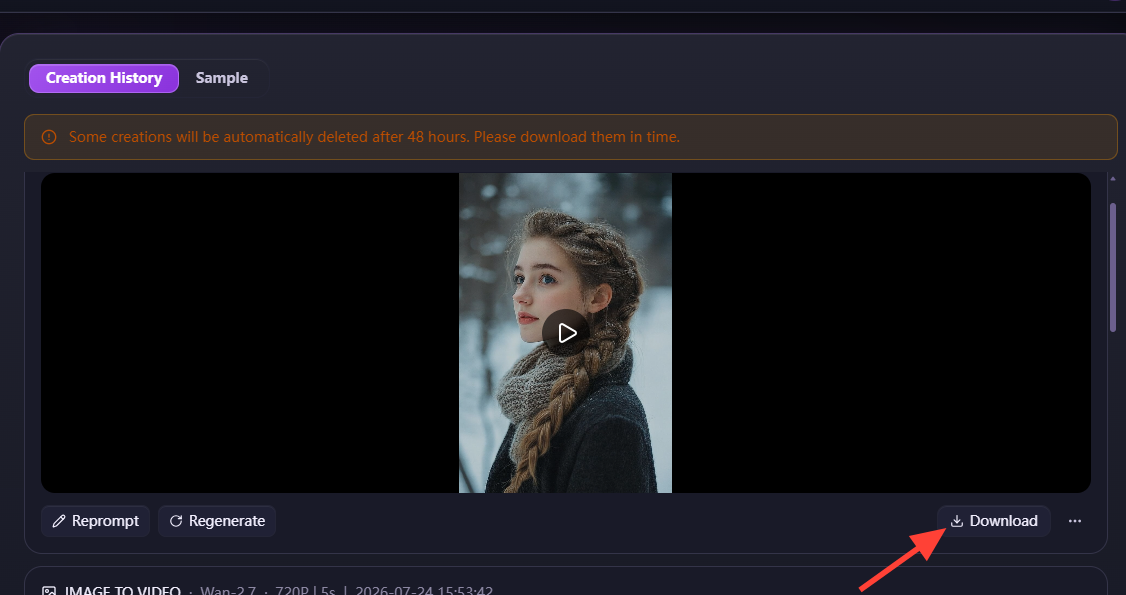
Step 4:Download the video
Once you are satisfied with the preview, download the completed video in MP4 format. This file can be conveniently shared, uploaded, or further edited across different platforms. Before publishing the video or deploying it for commercial use, confirm that you hold full rights to all content featured within the video — including the source image, background audio, logos, trademarks, and the likeness of any identifiable individual.
How to Choose an Image-to-Video Tool
Once you understand the basic image-to-video process, the next question is which tool best matches your project. Some platforms focus on realistic cinematic movement, while others provide stronger character controls or a simpler workflow. The most useful comparison points are pricing, creative control, generation speed, and the amount of setup required.
VidpexAI | Vidu | Kling | PixVerse | |
Pricing | Free | $48.52 per year. The free allowance: around 8–10 videos. | $6.99 per month | Around $8 per month |
The Speed of Video Gnerator | Approximately ten seconds | Three minutes | Three minutes, while users need to wait for a long time to review | 10 seconds |
The step of Workflow | Four steps | Users need to set up some control prompts | Users need to choose some models. | Users need to choose different visual stlyls. |
There is no single image-to-video tool that works best for every project. The right choice depends on the type of video you want to create, the level of control you need, your budget, and how often you plan to generate or revise videos. If you're looking for a beginner-friendly workflow, VidpexAI is one option worth considering because of its more accessible pricing, faster video generation and more straigthtforward photho-to- video workflow. However, tools like Kling or Vidu may provide more advanced creative controls for experienced users.
Tips for Better Image-to-Video Results
Many first-time users assume that adding more instructions always produces better videos. In reality, overly complex prompts often confuse AI models and lead to unstable motion. The following tips will help a lot.
- Start with a clear, high-resolution image where the main subject stands out.
- Focus on one main action and one camera movement per clip—avoid combining too many unrelated actions in a short video.
- For portraits, use subtle blinking, a small smile, or a gentle head turn. Large movements may make facial features less consistent.
- For product images, keep the object stable and create motion through the camera, lighting, or background. This reduces the risk of changing the product’s shape or branding.
- For landscapes, animate natural elements include clouds, waves, leaves, fog, mist, or changing sunlight.
- When using a free online AI image-to-video tool, explain both what should move and what should remain unchanged.
- Use instructions such as preserve the original face, keep the product shape unchanged, or maintain a stable background to clarify which details must remain consistent.
- Generate several versions whenever possible. AI results can vary between attempts, and a small change to the prompt may produce smoother motion or better visual consistency.
FAQ
Can I use an AI-generated video commercially?
Commercial use depends on the platform’s terms and the rights attached to the original content. Make sure you have permission to use the source image, music, logos, trademarks, and the likeness of identifiable people.
What should I do if too many parts of the image move at once?
Reduce the prompt to one main action and one camera movement. Clearly state which elements should remain still. For example: Let the person blink gently while keeping the body, background, and camera stable.
Can I add music to the generated video?
Yes. VidpexAI allows users to add music during the customization stage. music that matches the subject and purpose of the video will be chosen.
Should I edit the source image before generating the video?
Yes, if the image contains distracting objects, poor lighting, unclear facial details, or a cluttered background. Cropping the image, improving brightness, and making the main subject easier to identify can help the AI produce more stable and consistent motion.
VidpexAI deliver a smoother, more usable videos without requiring complicated prompts. As you compare AI image-to-video tools, assess key aspects: video output quality, generation speed, ease of workflow, and free plan constraints, so you can pick the optimal solution for your creative projects.
Ethan Brooks
Ethan Brooks leads AI videos and AI avatar workflows. With 12+ years specializing in generative AI, Ethan has produced AI-driven campaigns for global brands and tested every major model. He writes about prompts and future of visual storytelling.
Das könnte Ihnen gefallen
Higgsfield vs. VidpexAI: KI für die Text-zu-Video-Umwandlung und kostenloser KI‑Video‑Generator auf Basis von Text (2026)
Weiterlesen
Invideo.io vs. VidpexAI: KI-gestützte Text-zu-Video‑ und kostenlose KI‑Videoerstellung aus Text (2026)
Weiterlesen